
Understanding Vapor Barrier Installation
What is a Vapor Barrier?
A vapor barrier is a layer of material strategically installed in areas susceptible to moisture to prevent moisture from infiltrating enclosed spaces, particularly crawl spaces and basements. This barrier is essential in maintaining a consistent humidity level and protecting structural integrity against mold and decay.
The Importance of Vapor Barrier Installation
Moisture control is crucial for any residential environment. High humidity levels can lead to significant problems including mold growth, wood rot, and compromised indoor air quality. Implementing Vapor Barrier Installation not only eliminates excess moisture but also enhances the overall health of your home by creating a more stable indoor atmosphere. In areas prone to flooding or high groundwater levels, a vapor barrier becomes even more critical, serving as a robust defense against moisture intrusion.
Materials Used for Vapor Barrier Installation
The materials chosen for vapor barriers can significantly influence effectiveness. Common options include:
- Polyethylene sheeting: Usually available in thicknesses ranging from 6 to 20 mils, polyethylene is the most popular vapor barrier material due to its durability and moisture resistance.
- Foam board: Rigid insulation boards can serve as vapor barriers while also providing thermal resistance, making them ideal for colder climates.
- Spray foam: In addition to sealing gaps, spray foam can act as an effective vapor barrier, oftentimes used in conjunction with other materials.
Preparing for Vapor Barrier Installation
Assessing Your Crawl Space
Before installation, a thorough assessment of your crawl space is essential. Look for signs of moisture, mold, or pest infestations, and ensure adequate ventilation. Consider the height and width of the space, as these dimensions will impact material requirements and installation techniques. Measuring the square footage will also help determine how much material you will need.
Choosing the Right Vapor Barrier Materials
Selecting the appropriate vapor barrier material involves evaluating specific project needs and environmental conditions. Polyethylene is usually the go-to choice; however, if the area has heightened exposure to moisture, thicker materials may be warranted. For areas that experience temperature fluctuations, integrating insulated materials can also prove beneficial.
Tools Needed for Vapor Barrier Installation
Having the right tools at your disposal can simplify the installation process. Essential tools include:
- Utility knife for cutting the barrier material
- Tape measure for precise measurement
- Staple gun for securing the barrier in place
- Duct tape to seal seams and joints
- Shovel (if excavation is needed)
- Protective gear including gloves and masks for safety
Step-by-Step Guide to Vapor Barrier Installation
Preparation Steps Before Installation
Before you begin the installation process, it’s essential to take the following preparatory steps:
- Clear the crawl space of any debris, including old insulation, trash, and items that may obstruct the installation.
- Make any necessary repairs to foundation walls or floors to seal cracks that could allow moisture to enter.
- Ensure proper drainage around the home’s foundation, including clear gutters and downspouts.
How to Properly Install a Vapor Barrier
Once preparations are complete, follow these steps to install the vapor barrier:
- Roll out the vapor barrier across the crawl space floor and extend it up to the foundation walls by at least 12 inches.
- Cut the barrier to fit the space and overlap sections by at least 12 inches at the seams.
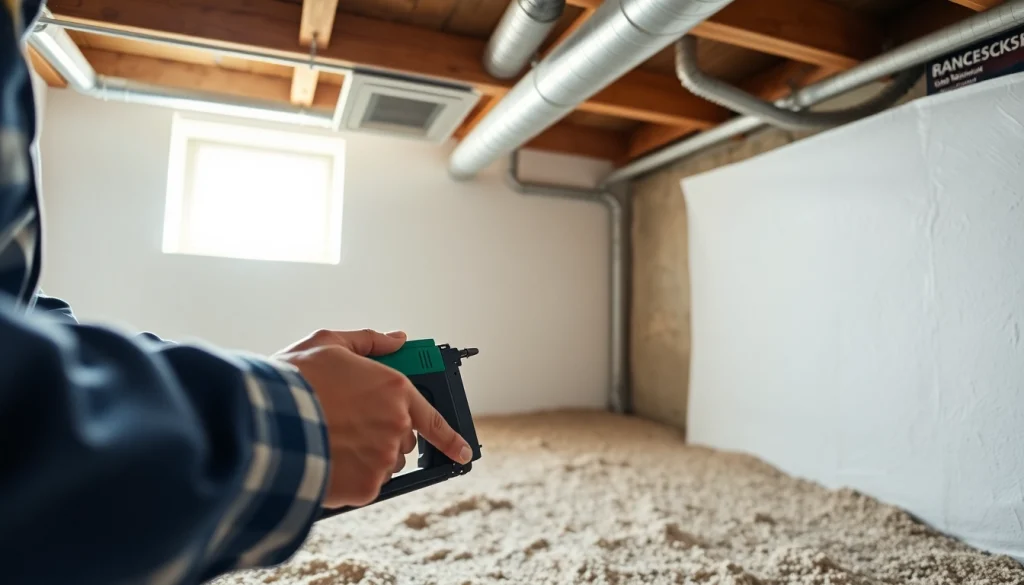
- Secure the barrier along the walls with a staple gun and use duct tape to seal all seams and fasteners.
- Trim excess material and ensure that the barrier lays flat without any folds or creases.
Common Mistakes to Avoid During Installation
To ensure effective installation, avoid these frequent pitfalls:
- Neglecting to seal seams properly can cause water intrusion through gaps.
- Using insufficiently thick materials may fail to provide adequate moisture protection.
- Not considering soil conditions can lead to improper drainage and moisture accumulation.
Maintenance and Care for Your Vapor Barrier
Checking for Damage and Wear
Even the best-installed vapor barriers require regular inspection. Aim to check the barrier at least once a year or more frequently after heavy rainfall. Look for visible tears, punctures, or signs of mold growth that may indicate failure.
How to Clean and Maintain Your Vapor Barrier
It is essential to keep the vapor barrier clean to maintain its efficacy. Cleaning can be as simple as wiping down the surface or using a vacuum. Avoid using harsh chemicals that could degrade the material. Address any moisture issues in the crawl space and ensure proper ventilation to prolong the lifespan of the vapor barrier.
Signs That Your Vapor Barrier Needs Replacement
Signs that indicate a need for replacement include:
- Visible mold or mildew growth
- Multiple punctures or tears throughout the barrier
- Persistent dampness or odors within the crawl space
FAQs About Vapor Barrier Installation
What is a vapor barrier?
A vapor barrier is a material that prevents moisture from entering an enclosed area, commonly used in crawl spaces.
How thick should a vapor barrier be?
A standard vapor barrier is typically 6 mils thick, but thicker options are available for added durability.
Can I install a vapor barrier myself?
Yes, if you have basic DIY skills, you can follow our guide for effective vapor barrier installation.
How often should I check my vapor barrier?
It’s recommended to inspect your vapor barrier every year for signs of damage or wear, especially after heavy rains.
Is vapor barrier installation worth it?
Yes, a properly installed vapor barrier can prevent mold growth and improve air quality, making it a valuable investment.